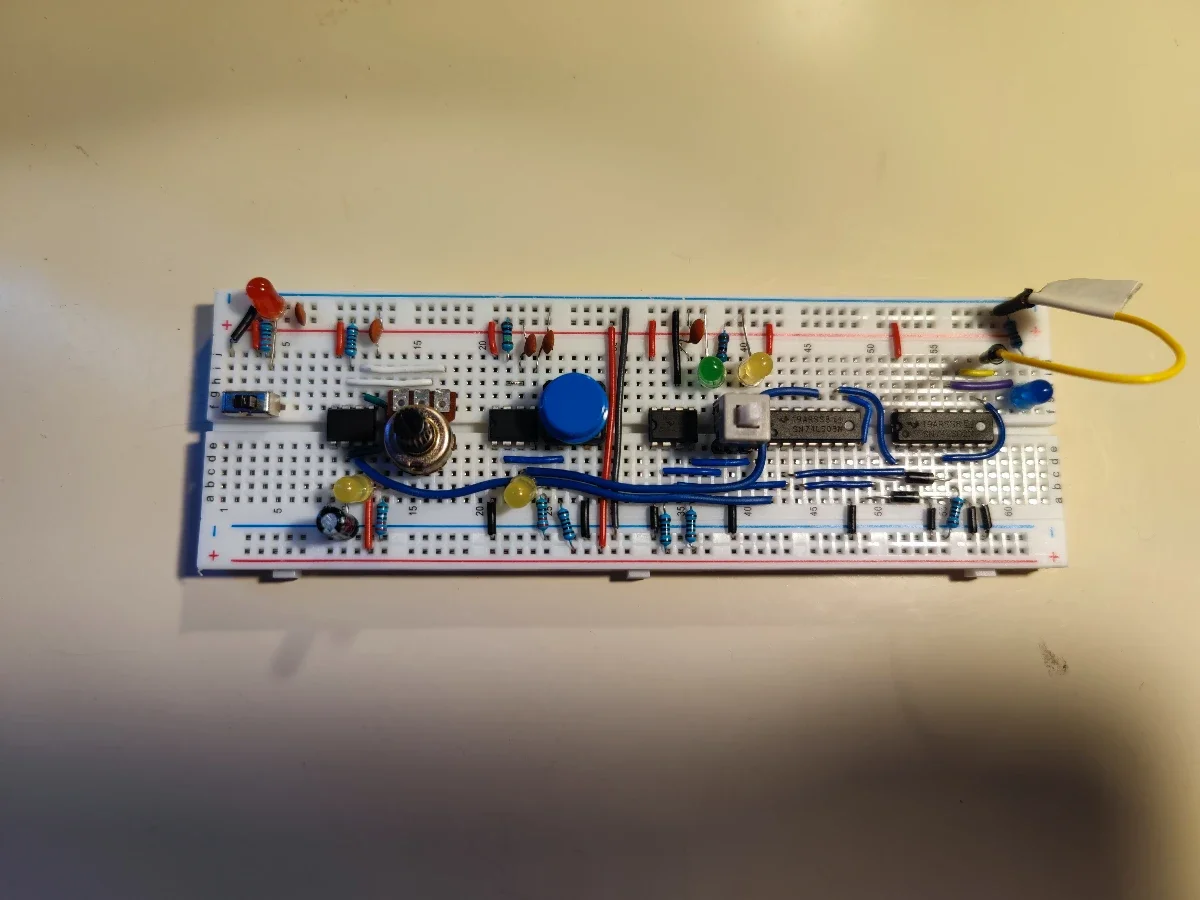
Not too long ago, I successfully completed the Nand2Tetris course. It was extremely interesting, and I wanted to actually create a computer like the one in the course. The Hack computer in the course has a 16-bit CPU, which is a little bit too many wires for my liking. 8-bit seemed like a perfect size project. I followed Ben Eater's guide, but I made adjustments and changes as I saw fit. Especially since I could buy most of the parts where I live much cheaper than the kit, and some parts weren't available, while some others looked better than what Ben used.
The image here is the simple clock module that I started with.
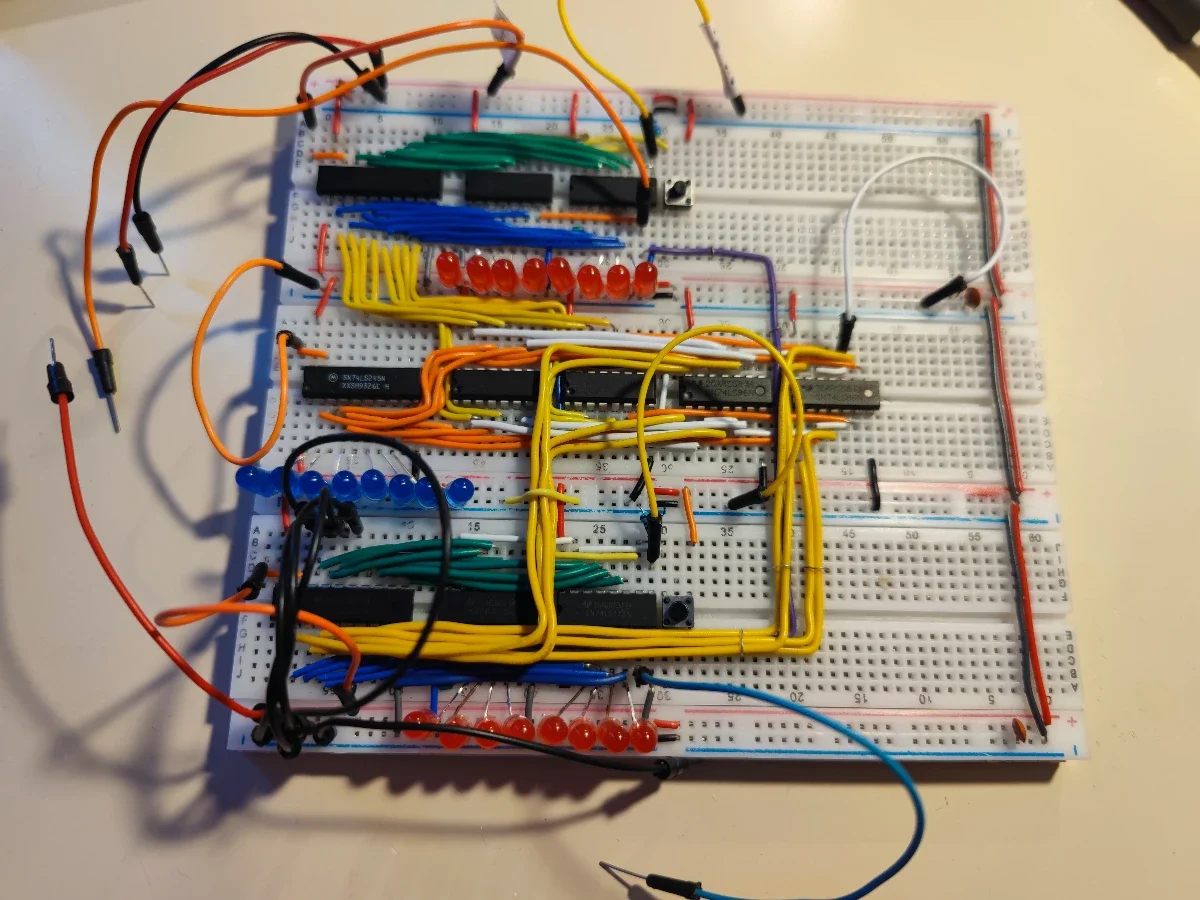
Ben's computer could do 2 things mathematically: add and subtract. I added the ability to XOR and XNOR on top of it, using techniques I learned from Nand2Tetris. I also doubled the RAM from a measly 16 bytes to a whopping 32 bytes!
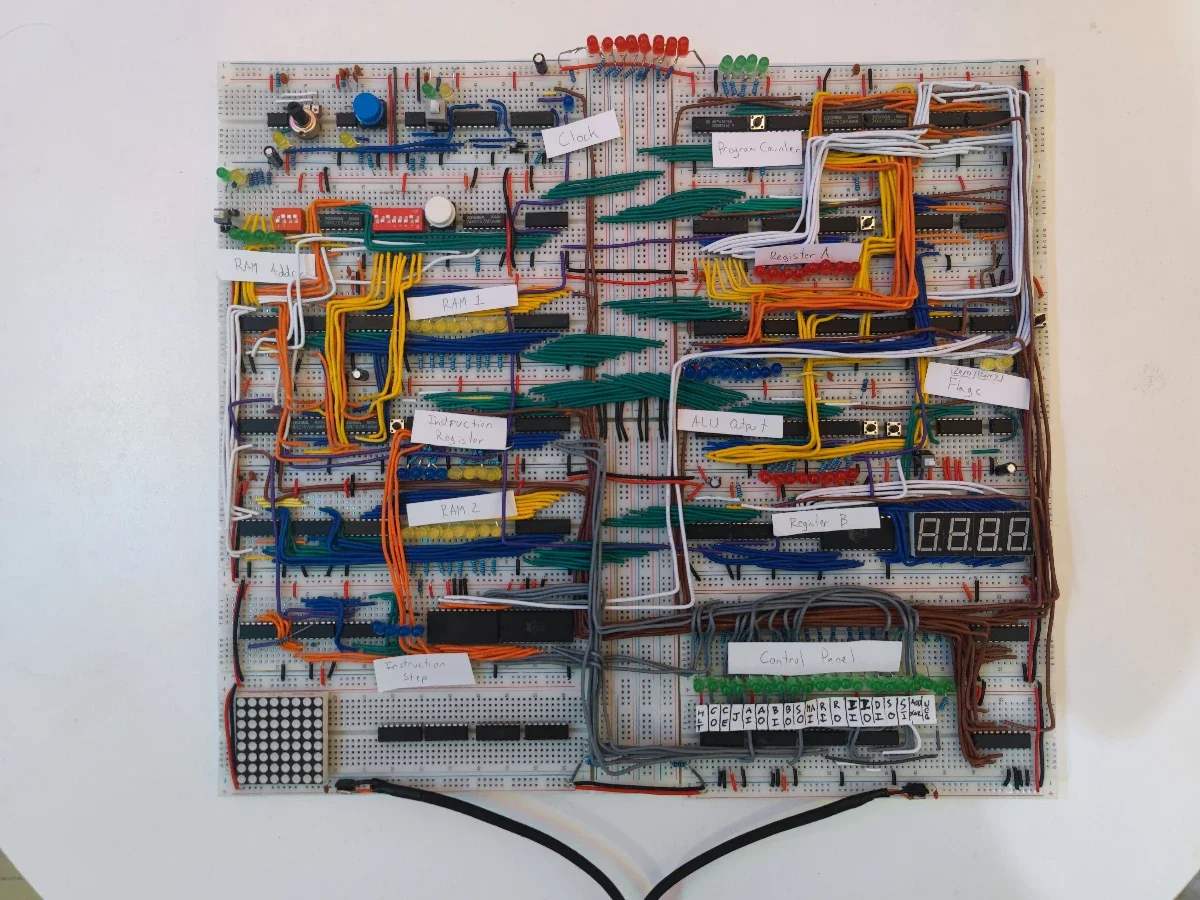
Here is the final build. It has 20 instructions it can do. Do nothing, load register A from RAM 1 or RAM 2, load register B from RAM 1 or RAM 2, store the value in register A to RAM 1 or RAM 2, add, sub, xor, xnor, move A to B, move B to A, jump, jump carry, jump zero, load a number to A or B, and halt. Ben Eater explains the jumps, loads, registers, and others much better than I can. You can check the videos out in the link above.
Here it is mesmerizingly calculating the Fibonacci numbers. In essence it's performing the following code:
a = 0
b = 1
temp = 0
while a + b < 256:
    print(a)
    temp = a
    a = a + b
    b = temp
You can see in the bottom left there is an 8 by 8 LED pixel matrix. This will later on become a display. I can use the second RAM to store image data, which can then be shown on the display. But that is for another day. For now the computer is done. I will post an update when I get around to adding the feature.